1. What is Nauto?
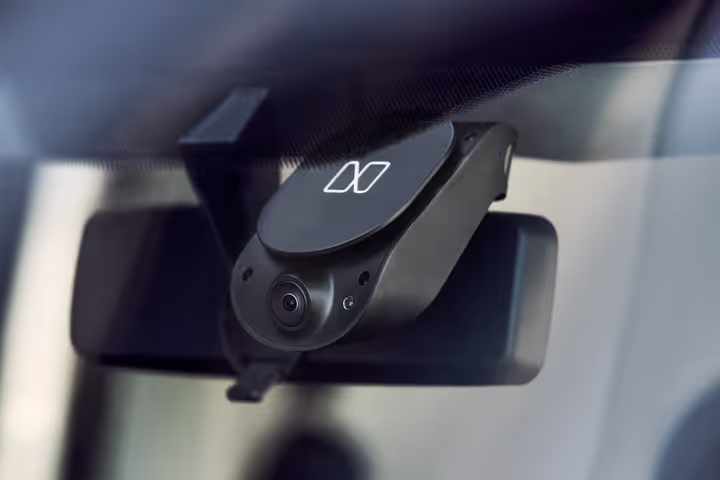
Nauto is a smart camera device and platform powered by artificial intelligence that makes any car, driver, or passenger safer and smarter. Nauto gives a complete picture of what is happening inside the car or out on the road and learns from drivers and events in real time, so it can help prevent collisions and improve driver performance.
Fleet managers can use Nauto's dashboard to get a user-friendly view of their drivers, as well as events that may occur inside or outside of each fleet vehicle. Nauto can also protect drivers from wrongful liability by automatically tagging collisions, or even near-misses, out on the road.
2. What is in the box
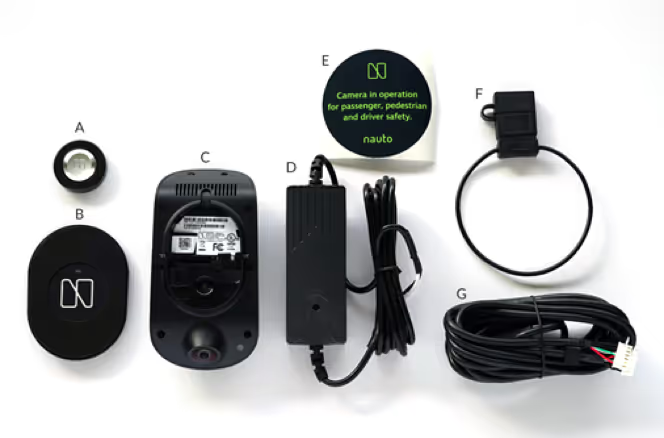
Components found in the box
- A. Event Mark Button
- B. Windshield Mount
- C. Nauto Device
- D. DC/DC Converter
- E. Privacy Sticker (optional)
- G. Power Cable
Components shipped separately
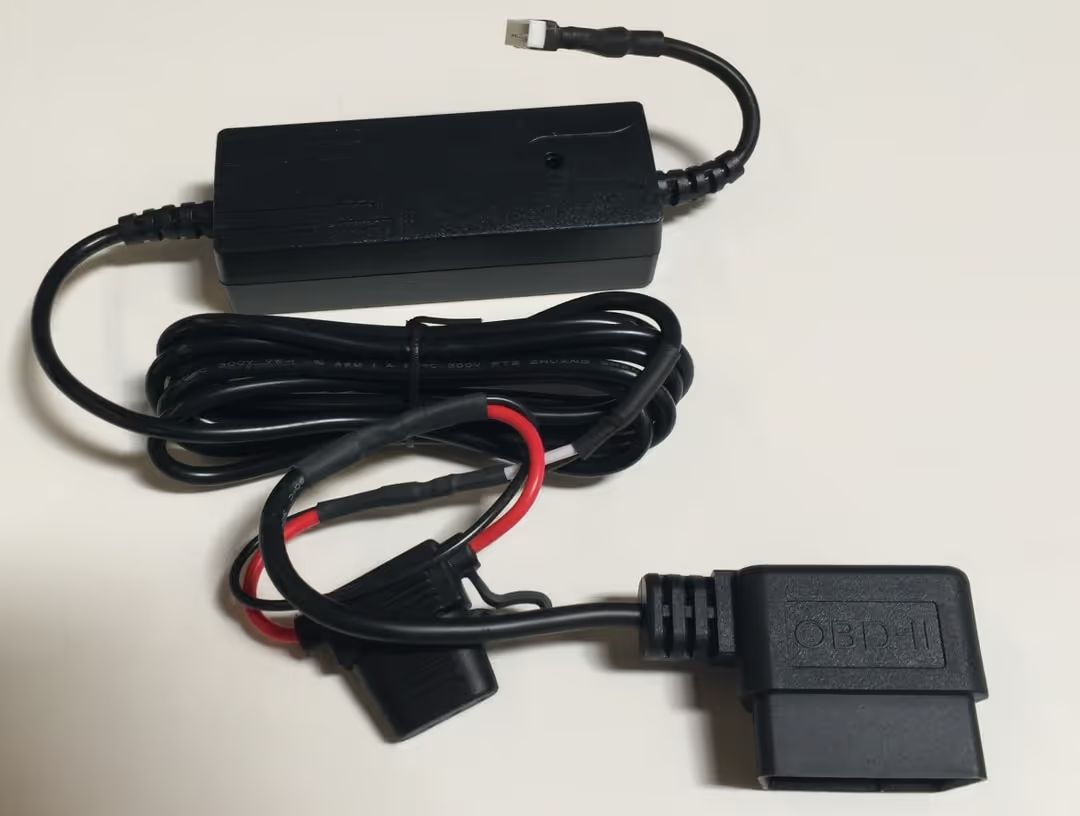
- OBD II connector and DC/DC Converter
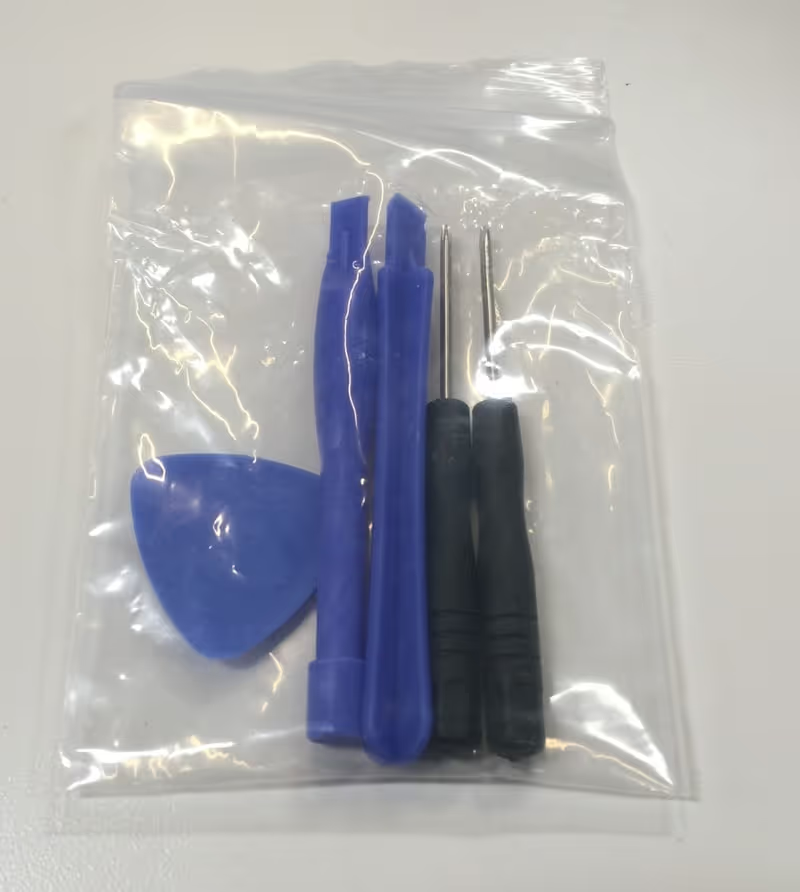
- Self-install kit, including a T5 screwdriver and a spudger
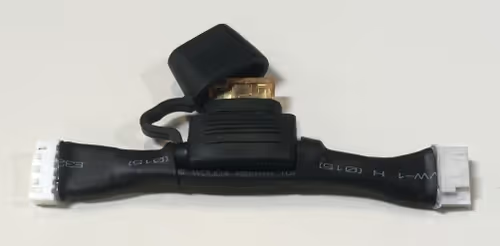
- In-line fuse
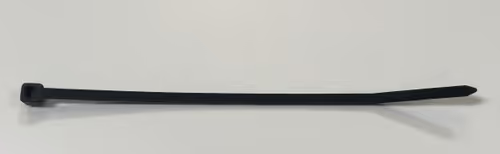
- Zip-tie
3. Register the device in the Installer app
Required
The Nauto Installer App is required for every installation. It is not possible to complete the installation without access to it. If you do not have login information, contact Nauto Support at support@nauto.com.
Download the Nauto Installer App using the links below, or search the app stores for the keyword “Nauto Installer”.
- Android: download from Google Play
- iOS: download from the App Store
- Open the Nauto Installer App and log in with your Nauto account.
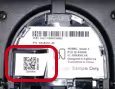
- You will be prompted to enter or scan the serial number of the device you are installing. The serial number starts with a “G” and wraps around the QR code.
- On the next screen, the name of the fleet you are installing into should already be entered. If this is the wrong fleet, enter the correct one.
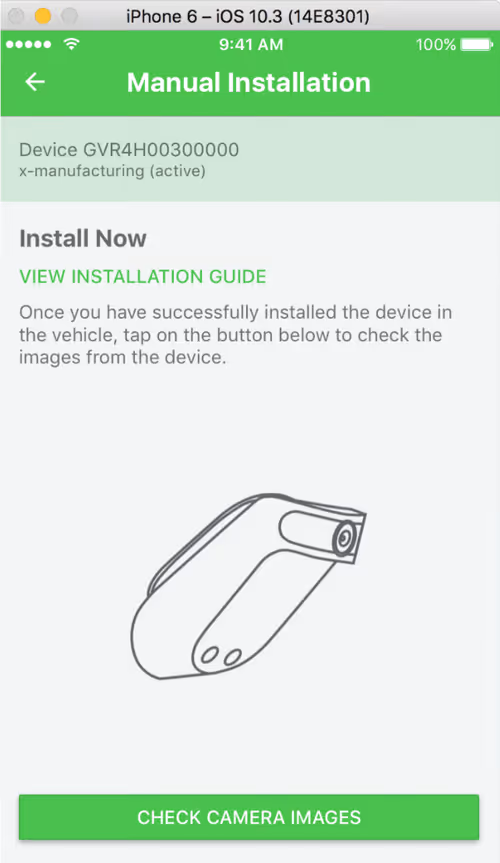
- Once the above steps are complete, you should reach the Ready for Install page.
4. Connect the power cable to the Nauto device
- Connect the 9v Nauto power cable to the Nauto device, and ensure the square block on the cable goes inside the Nauto device.
- Link the other end of the power cable to the in-line fuse, as described in the next step.
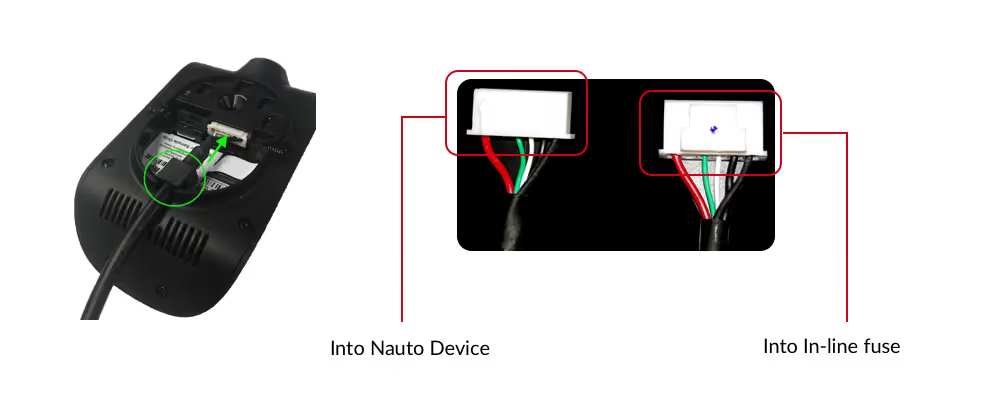
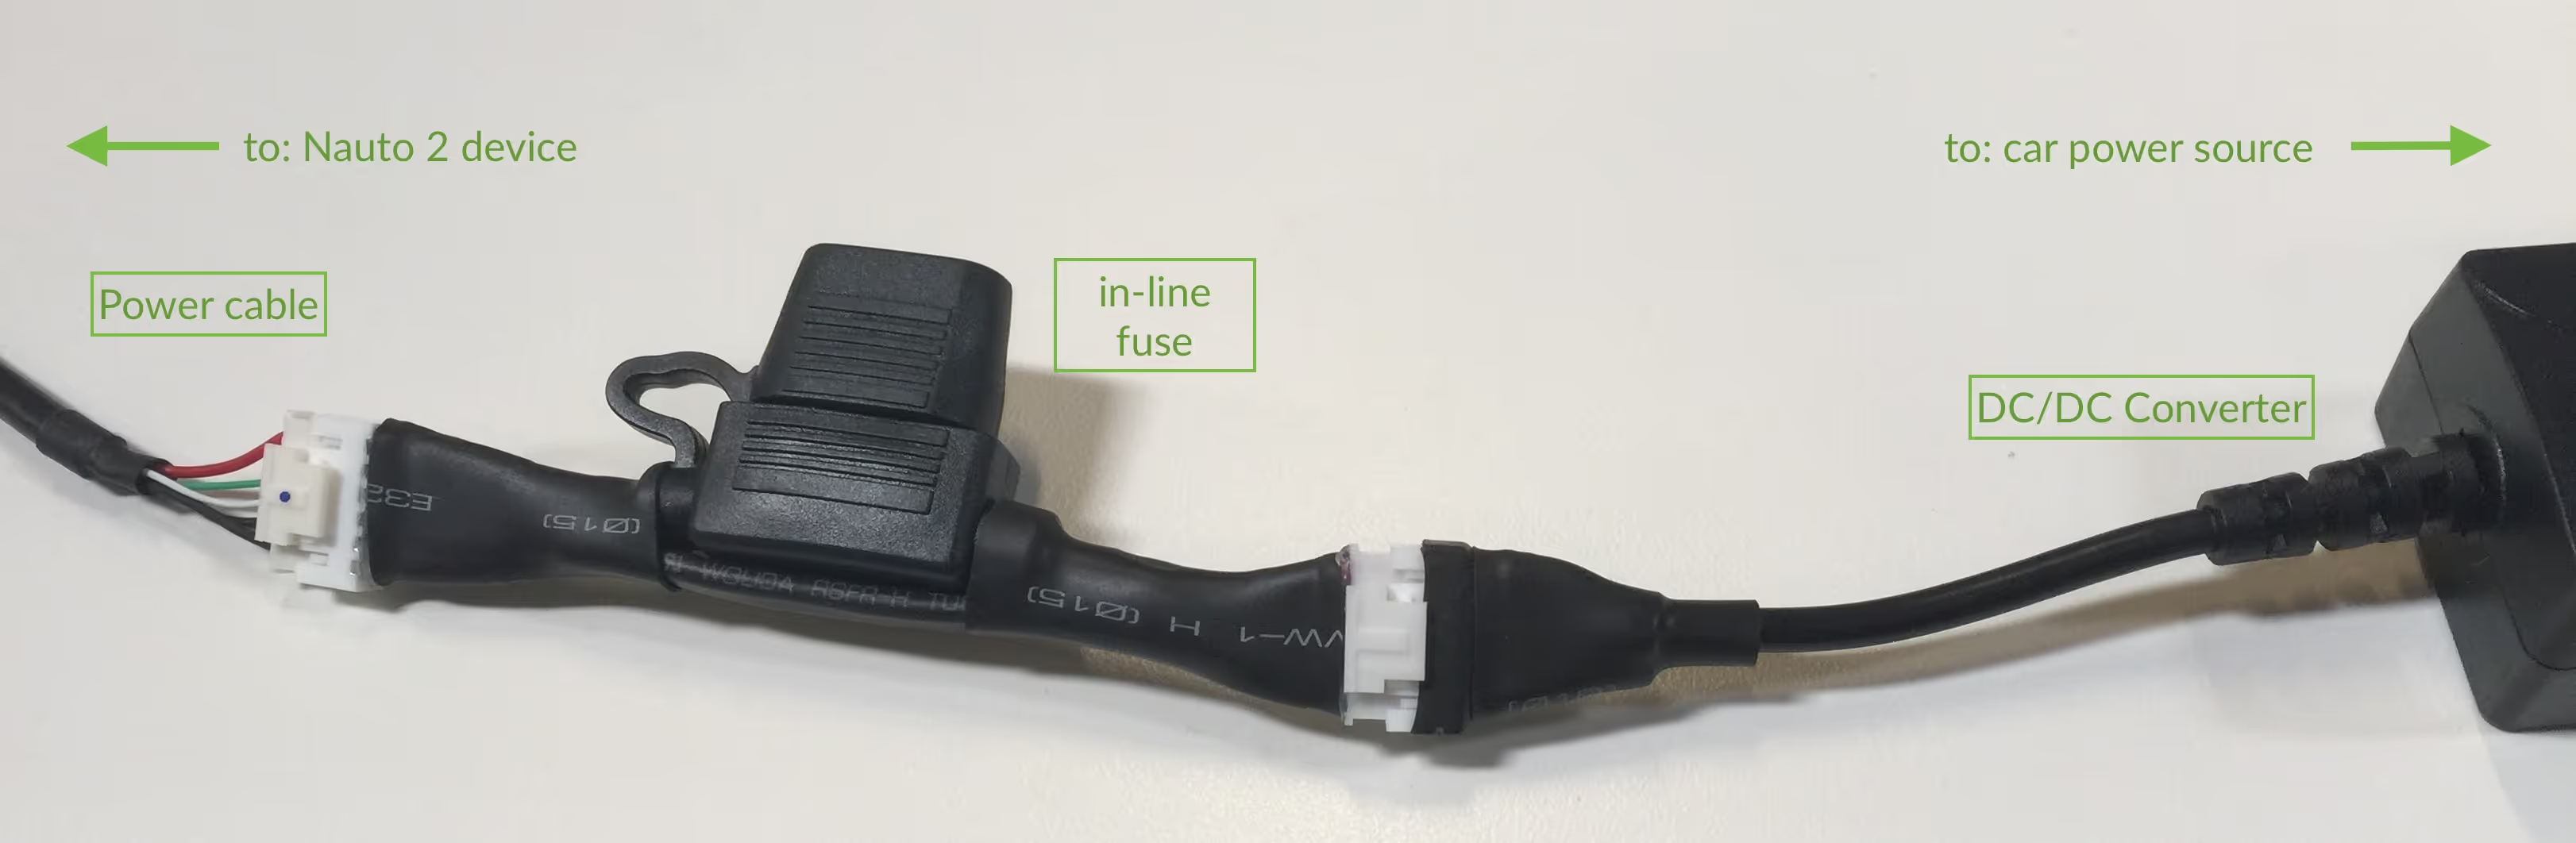
5. Connect the in-line fuse to the DC/DC converter
Connect the in-line fuse, shipped separately, to the DC/DC connector and OBD II, also shipped separately.
Do not use the DC/DC converter from inside the box.
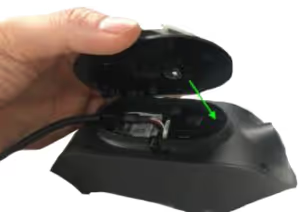
6. Attach the windshield mount to the Nauto device
Attach the windshield mount to the Nauto device. Once they are lined up, slide the mount forward to lock it in place.
Do not tighten either of the screws yet.
7. Plan your mounting location
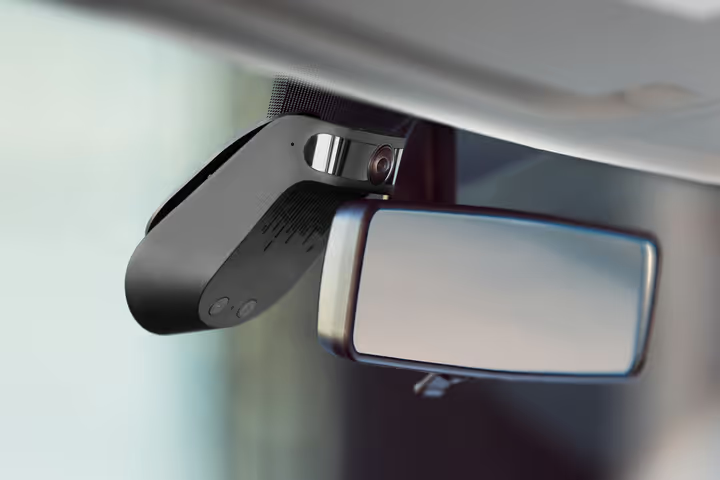
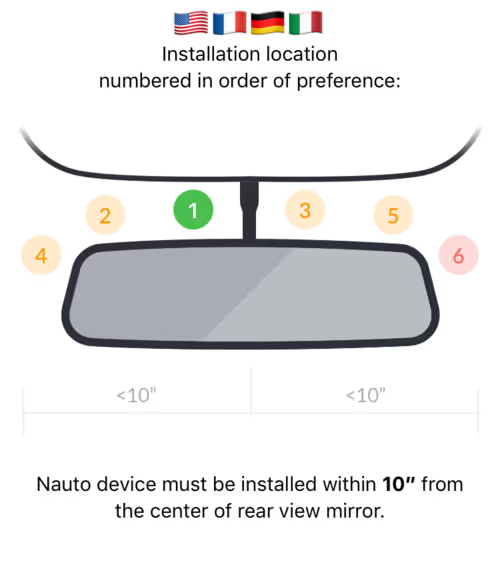
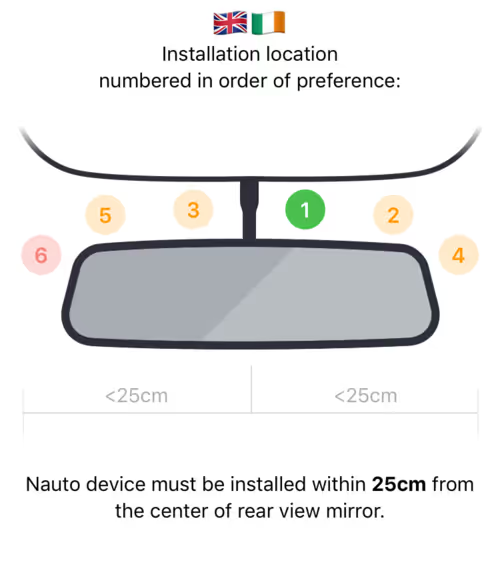
To ensure optimal performance, install the device on the driver side of the vehicle. If that is not possible, you can install it on the passenger side, but stay as close to the center as possible. The correct position differs for right-lane driving and for left-lane driving markets such as the UK, Ireland and Japan.
For right lane driving
For left lane driving (UK, Ireland, Japan)

8. Power up the Nauto device
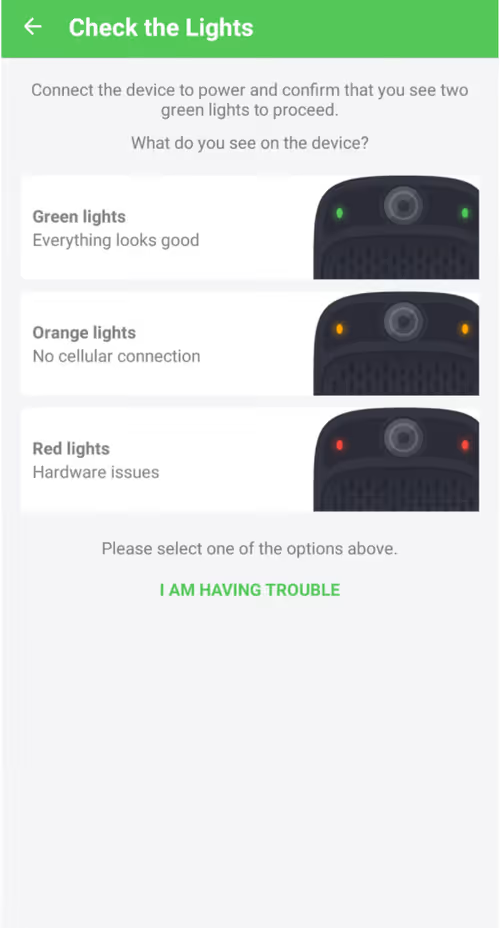
Make sure the vehicle is off before you begin. Plug the OBD II cable into the port just above the pedals. On initial power up, the LEDs on the side of the inside camera will move through the following states.
- Red, until you hear the boot-up chime.
- Solid blue, indicating it is running self diagnostics.
- Green to indicate the device is working, or red to indicate the device is not working.
- Orange means the device cannot connect to LTE. The car should be moved outside so the network can be reached, but the install can still be completed without LTE coverage.
It may take a minute or more after attaching the device to the power source before you hear the chime. You will also need to view the Nauto device from outside the windshield to see the green light.
If you do not see the green light, check your wiring connections. In the Installer App, confirm which colour the lights of the device are.
9. Confirm location and functionality with the app
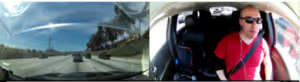
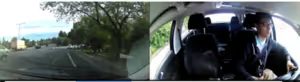
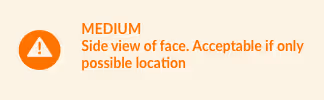
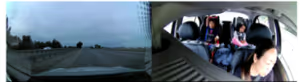
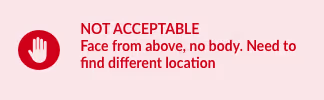
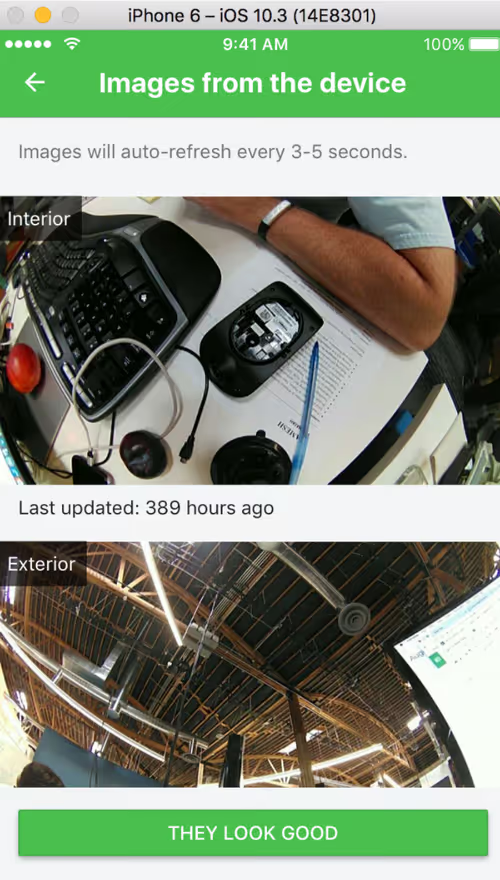
Go back to the Nauto app. Sit in the driver's seat and follow the steps on the app. Compare the images on the app against the reference views and change the camera location until the view is correct. Once you have found the right location, proceed to the next page.
10. Mount the Nauto 2
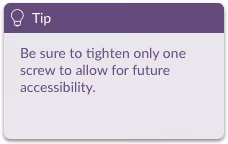
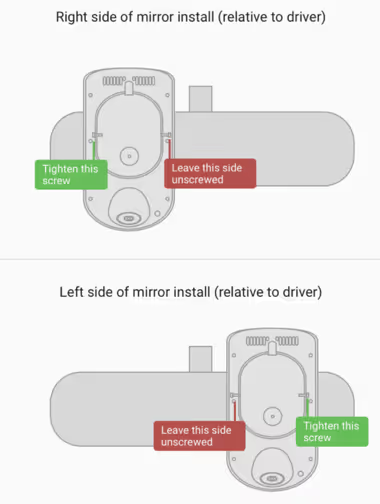
Using the T5 Torx screwdriver from the self-install kit, tighten the screw on one side of the Nauto device only. This is sufficient to lock the mount to the device. Which screw you tighten depends on where you mount it on the windshield. If you plan on being able to remove your device to work on it at your desk, do not tighten either screw.
Remove the 3M tape cover and attach the device to the windshield in the location you selected. The device has to be perfectly straight, not tilted in any way.
One attempt only
Ensure you have the correct location before attaching. The 3M VHB tape is very strong and will form a tight bond once attached. If the device has to be taken off the windshield, do not stick it back on with the same windshield bracket, as it will not stick. Contact support to get a new bracket.
11. Wiring
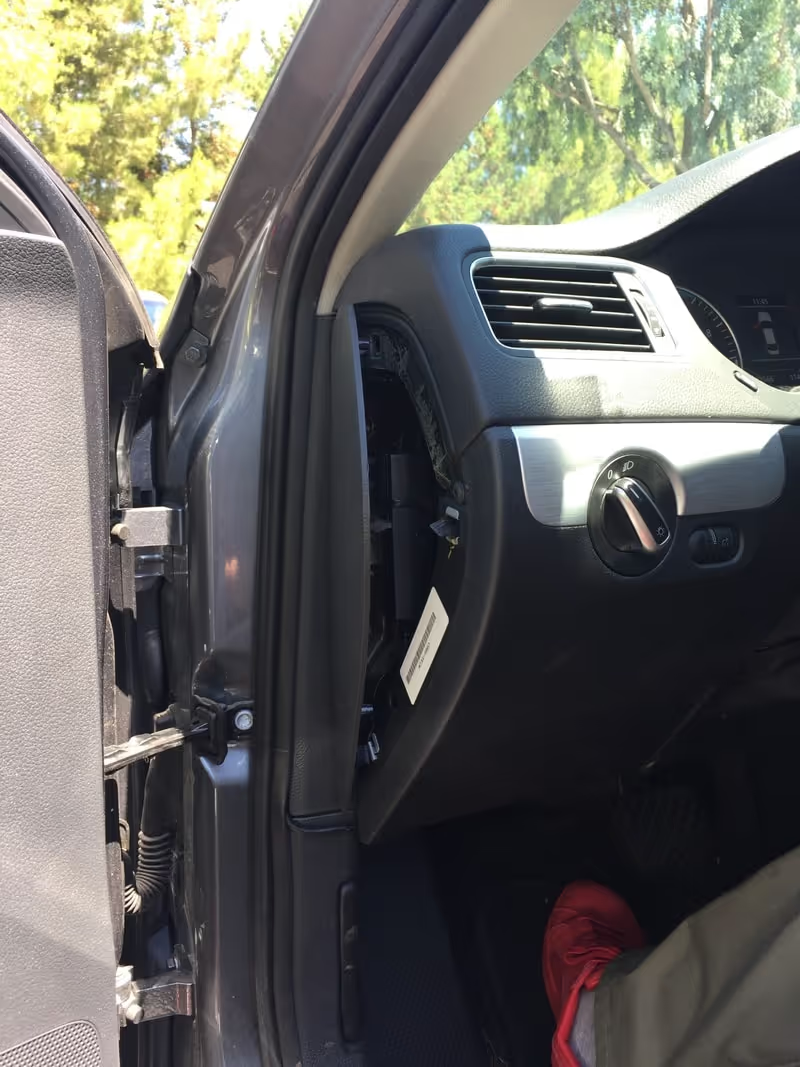
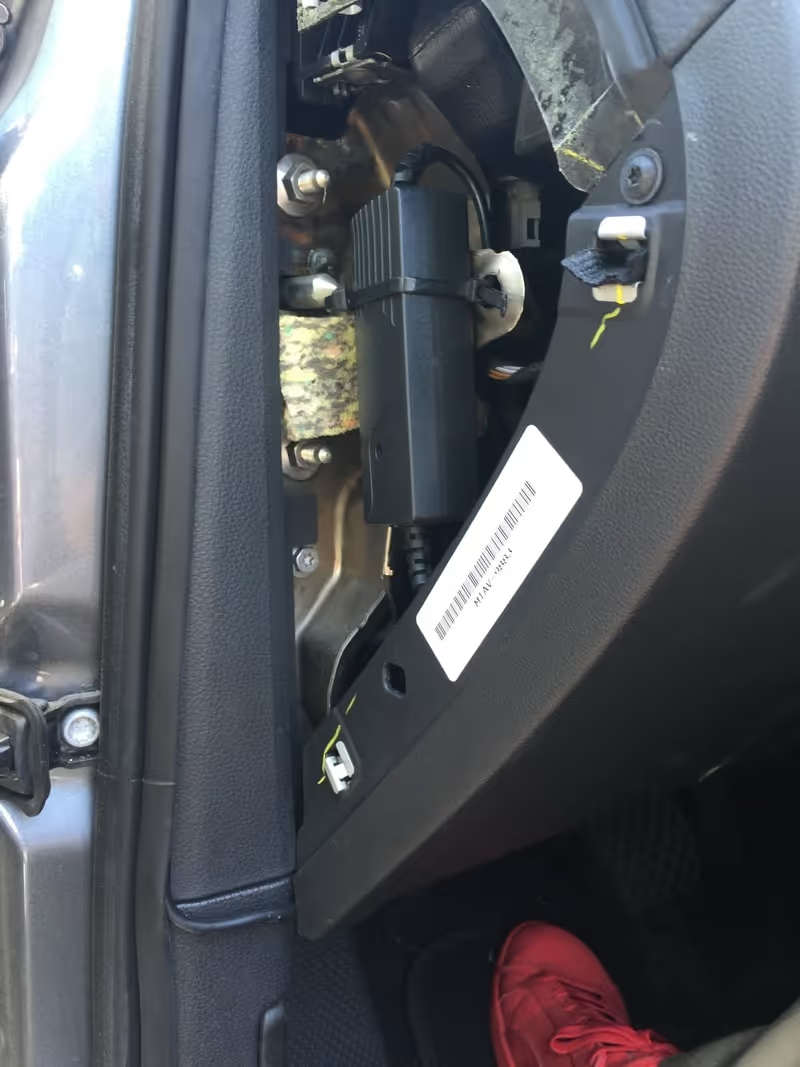
- On the left of the steering wheel you may find a compartment that can be opened. Use a spudger or screwdriver for leverage to open it.
- Place the DC/DC converter in this box. Ideally, use a zip-tie to secure it to the metal frame. Not all cars have this metal piece.
- Place the OBD II dongle through the box and down to the pedals. Do not plug it in yet.
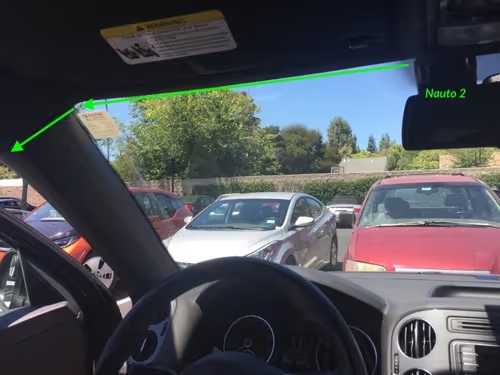
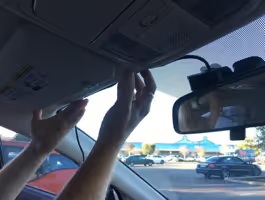
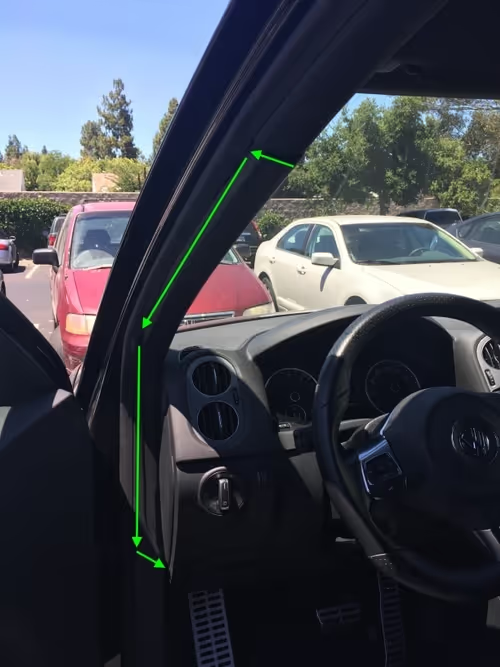
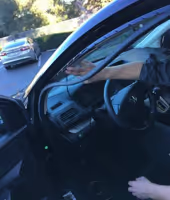
- Hide the wires in the lining above the windshield, all the way down to the compartment box.
Not all cars have this compartment box. If yours does not, secure the DC/DC converter in the best way you can find. Leaving it on the dashboard works, but is not ideal.
Airbag warning
Do not open the airbag box to put the wires inside. The wires should run above it.

12. Mark Button installation
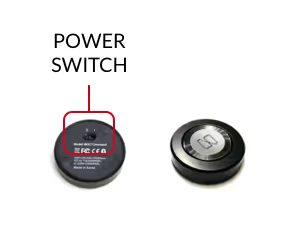
Follow the instructions in the app. You will see an alternating green and red flashing light when you turn on the Mark Button. When the flashing stops, press the silver centre and you will hear a chime from the Nauto device confirming it is paired correctly. If it does not chime, wait a minute and press the silver centre again.
Fixing the button in place
- Confirm the install location of the button with the fleet manager.
- Stick the Velcro with a perforation against the bottom of the Mark Button, making sure the power switch stays accessible.
- Stick the other round Velcro piece to the chosen location on the dashboard.
- Attach the two Velcro pieces together so the button stays on the dashboard.
13. Vehicle information
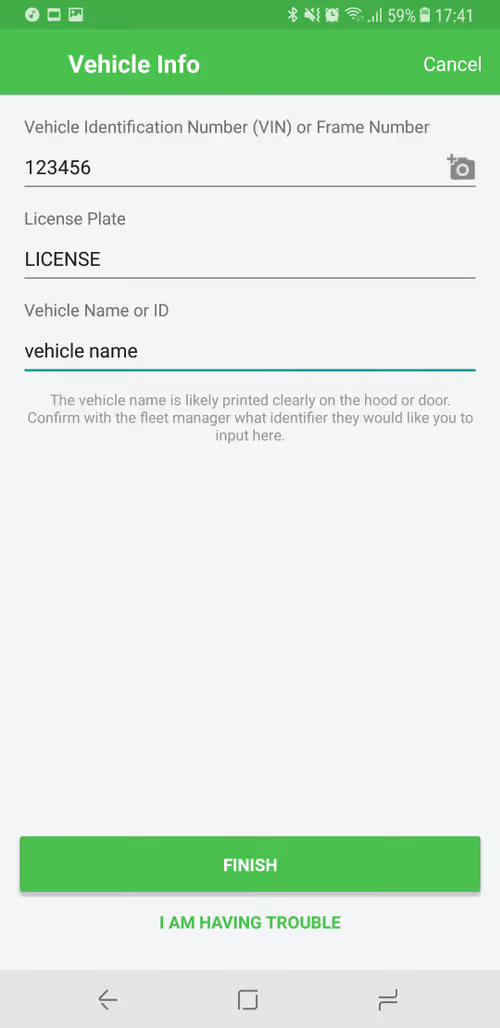
Once you have finished the final check, enter the vehicle information. After that you should reach the “Congratulations” page, and you can quit the app.
14. Privacy sticker
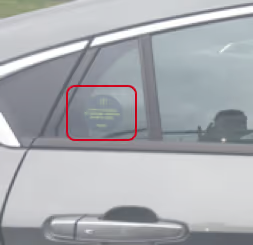
If there are round privacy stickers in the box, place one on each of the back passenger windows of the vehicle.